My brother-in-law painted his garage door three years ago. Picked a color he liked, rolled it on in an afternoon, and it looked genuinely good for about eight months. By the following spring it was peeling at the panel edges, fading noticeably on the south-facing upper sections, and starting to chip at the bottom where water had gotten in over winter.
He'd skipped the primer. He'd also used interior latex paint because he had a half-gallon left over from the kitchen.
The mistakes in how to paint a garage door almost always happen before the first brush touches the door - in the prep sequence and the product selection. The painting itself is the easy part. Here's how to do the whole thing correctly, in the order that matters.
First decision: should you paint it at all
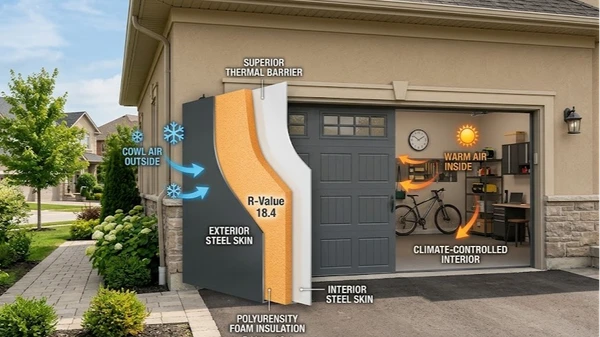
This sounds like a strange place to start, but it matters. Most new steel garage doors come with a factory-applied finish - typically a baked-on PVDF or polyester paint system that's extremely durable and UV-resistant. Once you paint over it, you've replaced that finish with a field-applied coating that will need repainting every four to seven years. You can't un-paint a factory-finished door.
If your door is relatively new, the finish is intact, and you just want a different color, painting is a reasonable choice but not the only one. A new door in the color you want lasts longer with less maintenance than a painted door.
If your door is older, the factory finish is fading or chalking, or the paint is already peeling, painting is absolutely the right call. Same if you have a wood door that needs regular maintenance anyway - repainting is part of that material's care cycle.
Choosing the right paint for your door material
This is where most paint jobs that fail start going wrong. The wrong paint for the material is the number one cause of premature failure on painted garage doors.
Steel doors: 100% acrylic exterior latex paint is the correct choice. It's flexible enough to handle thermal expansion and contraction - steel moves significantly with temperature changes, and paint that can't flex cracks at panel edges and corners within a season or two. Look for an exterior acrylic specifically formulated for metal. Sherwin-Williams SuperPaint and Benjamin Moore Aura Exterior are two consistently recommended products. Finish: satin or semi-gloss. Satin hides minor surface imperfections better. Semi-gloss is easier to clean and holds up better to weathering over time. Matte and flat finishes have no place on an exterior garage door - they absorb dirt, show water marks, and wear out faster.
Wood doors: exterior-grade acrylic latex paint here too, but the consideration is moisture protection above everything else. Wood expands and contracts more than steel in response to humidity, so the paint needs to move with it. An oil-based paint is more rigid and will crack on wood over time. High-quality acrylic exterior paint with a satin or semi-gloss finish is the right call. If the door is cedar or redwood and you want to preserve the wood grain appearance, exterior stain rather than paint is an option - the maintenance cycle is similar but the look is different.
Aluminum doors: acrylic latex works here as well. The relevant difference is that aluminum doesn't rust, so a rust-inhibitive primer isn't necessary - but adhesion is more of a concern because aluminum has a naturally smooth, slightly slick surface. A bonding primer specifically rated for aluminum is worth using.
Vinyl or fiberglass: these are the exception. Not all paints bond well to vinyl, and standard latex can peel from fiberglass if the surface preparation isn't right. Look for paint specifically marketed for vinyl/fiberglass surfaces, or use a 100% acrylic product after a thorough deglossing of the surface. If the door is vinyl and in good condition, painting is usually more trouble than it's worth - vinyl doesn't hold paint the way steel or wood does over time.
The prep sequence - all of it, in order
This is the section most guides cover briefly and most painters regret skipping. Good prep is 70% of the final result.
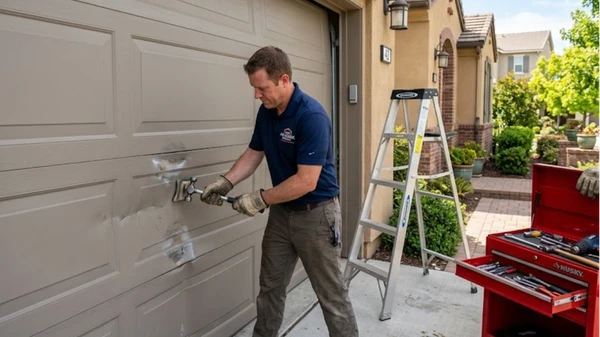
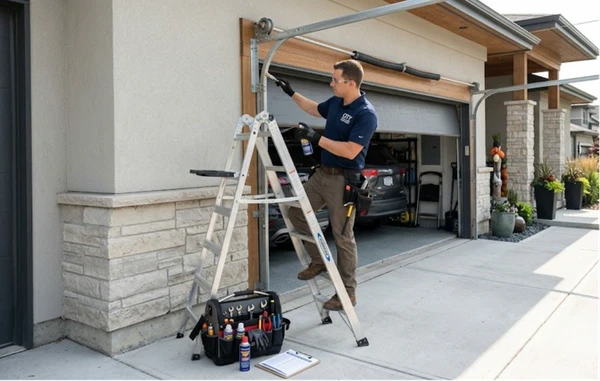
Step 1: Disconnect the opener. Pull the power cord from the outlet. You're going to be manually operating the door, working on sections at different heights, and you don't want the opener activating while your hands are near the panels or the moving hardware. This step is not optional.
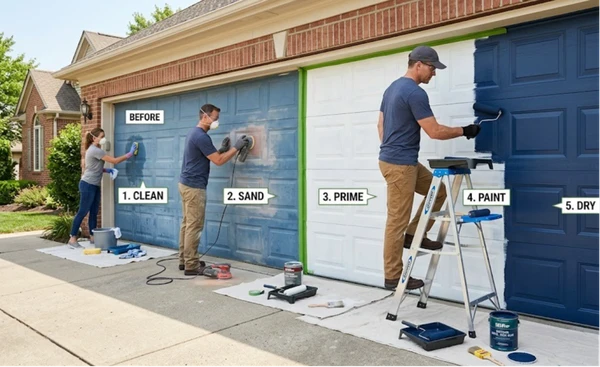
Step 2: Clean the door. Not a quick wipe - a thorough wash. Warm water and a mild detergent, applied with a sponge or soft brush to get into all the panel recesses and corner joints where dirt and grime accumulate. If there's mildew (black or gray spotting, common on north-facing or shaded doors), treat those spots with a diluted bleach solution - about a cup of bleach per gallon of water - before the full wash, then rinse thoroughly. Any dirt, grease, or mildew left on the surface will prevent proper paint adhesion. Rinse completely and let the door dry for at least a few hours, or overnight if conditions are humid.
Step 3: Address any rust. On steel doors, look for rust spots - typically at the bottom of panels, along seams, and anywhere the paint has chipped. Surface rust gets wire-brushed to remove loose material, then sanded until you're down to clean metal, then spot-primed with a rust-inhibitive metal primer before anything else. Painting over rust without this sequence doesn't seal it - it traps moisture under the paint, and the rust continues spreading underneath while the paint bubbles and flakes above it.
Step 4: Sand. A light scuff-sand over the entire door creates mechanical bite for the primer to grab onto. If the door is currently in good condition, 150 to 180 grit is sufficient for the flat surfaces; existing paint edges that are rough or raised need more aggressive work starting at 80 to 100 grit to feather them flat, then finishing with 150 to 180. Sand the recessed panel areas carefully. The goal is a uniformly dull, slightly textured surface across the whole door. Wipe down all dust with a tack cloth or damp rag before moving on.
Step 5: Tape and protect. Painter's tape on the windows, weatherstripping at the sides and top, any hardware you couldn't remove. Drop cloth on the driveway and garage floor below the door. Remove as much hardware as you practically can - hinges that are staying can be masked with tape, but a hinge with paint on it looks amateurish from close distance.
Step 6: Prime. Primer is not optional on a door that's being repainted from bare metal or bare wood, and it's strongly advisable when changing from a dark color to a light one or when the old paint is in questionable condition. For steel doors, use a high-quality exterior acrylic primer or, on any surface that had rust work done, a rust-inhibitive primer over the entire door. Apply in thin, even coats. The primer coat goes on first on the recessed panel areas (using a brush for the corners and details), then the flat stile and rail surfaces. One coat of primer is typically sufficient. Let it dry fully - at least two hours for most exterior primers, longer in humid conditions.
The actual painting
This is the part people think is the whole job. It's the easy part, after everything above.
Work top to bottom. Start with the top panel and work your way down. The reason is simple: drips from upper sections run onto sections you haven't painted yet, where you can work them in as you go. Drips onto already-painted lower sections create runs and sags you have to fix later.
Work each panel in sequence: recessed areas first (brush or small roller for corners and edges), then the flat surfaces. The recessed areas on raised-panel steel doors hold paint differently than the flat stiles and rails - work them separately rather than trying to roll over them, which pushes paint into corners unevenly.
For the flat sections, a foam roller in the 3/8-inch nap range gives the smoothest finish on steel doors. Avoid thick-nap rollers - they create stipple texture that's visible in raking light. Apply in thin, even passes, maintaining a wet edge so you don't create lap marks where a dry edge meets fresh paint.
A garage door paint sprayer produces the smoothest finish with the least surface texture, but requires masking everything around the door, managing overspray, and having some experience with sprayer pressure and distance. For most homeowners doing this once or twice a decade, a brush and roller combination gives excellent results without the setup complexity of spray equipment.
Apply two coats of exterior garage door paint, letting the first coat dry fully before the second - at least four hours in warm, dry conditions, longer if it's humid. The second coat fills any minor texture differences and ensures complete, uniform coverage.
Remove painter's tape while the final coat is still slightly tacky, not after it's fully cured. Tape removed from a fully cured paint edge can pull paint with it. Slightly tacky tape comes off cleanly.
The conditions that matter
Temperature: paint between 50°F and 90°F. Below 50°F, latex paint doesn't cure properly - it stays soft, doesn't bond correctly, and peels prematurely. Above 90°F on the surface (which happens faster than you'd think on a south-facing metal door in direct summer sun), the paint dries too fast, leaves brush marks, and doesn't flow out properly.
Humidity: below 85% relative humidity. High humidity slows dry times dramatically and can cause blushing - a milky haziness in the finish where moisture got trapped as the paint dried.
Direct sun: avoid painting a surface that's in direct sun. The surface heats faster than the ambient air suggests, and the paint dries too quickly on contact. Work in the shade, or paint in the morning before the sun reaches the door's face.
One mistake worth specifically calling out
Painting over glossy existing paint without sanding first is probably the most common reason a new garage door paint job fails quickly. Paint needs mechanical adhesion - something to grab onto. A glossy surface is smooth enough that new paint can't bond to it properly, and the finish lifts and peels within a season. The sand step creates the roughened surface the new coat actually needs. Don't skip it even if the old paint looks fine and sounds like extra work.
How long it lasts and when to repaint
A properly prepared and painted steel garage door with quality exterior acrylic paint should hold its finish for five to seven years in most climates, longer in moderate climates with less UV and temperature variation. A south-facing door in a hot-dry climate like Phoenix will show fading faster. A door that faces north or is shaded much of the day will hold color longer.
Signs it's time to repaint: chalking (a powdery residue that rubs off when you run your finger across the surface), visible fading or color shift compared to shaded areas, paint starting to crack or peel at edges or panel seams. Any of these is an easier repaint job addressed early than an extensive prep-and-strip job addressed late.
DoorFixy can advise on whether painting, panel replacement, or full door replacement makes more sense for your specific door - and can handle the mechanical maintenance side while you handle the aesthetics.
More on the DoorFixy blog - garage door care, style guides, material comparisons, and practical guides for homeowners.