A door technician once described a call he got from a homeowner whose garage door was making a sound like someone slowly stepping on a plastic bottle every time it opened. Not a bang, not a grind - a flex sound. Creak, give, settle. Repeating on every cycle.
He drove out expecting a hinge or roller issue. What he found was a 16-foot steel door with no struts at all, opened by an automatic opener, and a top panel that was bowing inward by about an inch and a half every time the opener pulled on it. The panel had been flexing through that inch and a half ten times a day for roughly four years. The steel had visible fatigue stress lines running from the corner of the opener bracket.
The strut cost about $60. The repair - strut installation plus addressing the stress damage to the top panel - ran closer to $400. The door had been telling him something was wrong for years and he'd just adapted to the sound.
Struts are not glamorous. They're steel bars. Nobody talks about them the way they talk about springs or openers. But they're doing structural work that matters, and a door that needs them and doesn't have them is gradually working its way toward a more expensive problem.
What a strut is and what it's actually doing
A garage door reinforcement strut is a horizontal steel bar - typically 2¼ inches or 3 inches wide, 22-gauge galvanized steel - that bolts or clips across the back face of a door panel. It runs the full width of the door, attached at multiple points along the panel.
The job is rigidity. A garage door panel on its own is a relatively thin sheet of steel with a formed profile - structurally stiffer than flat sheet metal, but not rigid under concentrated loads. When an opener pulls on the center of the top panel, or when wind load pushes against the face of the door, or when the door's own weight acts on it while it's horizontal in the open position, the panel flexes unless something prevents it.
The strut prevents it. It distributes that concentrated load across the full width of the panel so no single point bears all the stress.
For smaller single-car doors on lightweight-duty use, the inherent rigidity of the formed panel is often sufficient. For wider doors, heavier panels, doors with openers, doors in high-wind areas, and doors that carry window inserts - the math changes.
The situations where a strut is actually needed
There isn't a universal rule that applies to every door. The cases where struts matter most fall into a few categories:
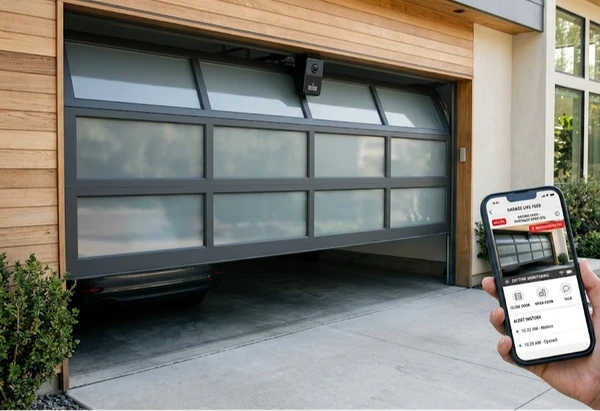
Any opener on a door without one. When an opener pulls the door from the top-center attachment point, it's applying a concentrated upward force to the middle of the top panel. That panel was engineered for distributed support - it's not designed to function as a lever arm being pulled at one point. An opener reinforcement strut across the top section distributes that pull across the entire panel width. This is the most common strut application and the one most installers will recommend automatically.
Double-car doors 16 feet wide and wider. The physics of spanning 16 feet of steel creates center-sag risk when the door is horizontal. A 16-foot panel held at the tracks on each end with nothing supporting the middle will bow under its own weight over time, especially if it's a lighter-gauge door. The wider the door, the more this matters. Standard guidance for uninsulated double-wide steel doors is three struts - top, middle, and bottom sections.
Doors with windows. Window cutouts remove material from the panel, reducing its structural cross-section. A top panel with six window openings is meaningfully weaker than a solid panel. Adding a strut compensates for the material removed.
Insulated doors at the heavier end. Counter-intuitive, but polyurethane-insulated doors are actually more resistant to bowing because the foam bonds to the inner and outer skin and creates a structural composite effect. Thinner, lighter polystyrene-insulated doors and uninsulated doors don't have that benefit and bow more readily.
Wind-code and hurricane zones. Coastal areas in Florida, Texas, and the Gulf states have building codes that specify minimum strut requirements for garage doors based on wind load ratings. In these areas the question isn't whether to add struts - it's how many, at what gauge, and with what mounting hardware. A door that isn't wind-code compliant in a hurricane zone is a liability problem as much as a structural one.
Reading the signs that a strut is missing or failing
The door has ways of communicating this problem that are fairly easy to read once you know what to look for.
Watch the top panel while the opener cycles the door. Stand inside the garage, let your eyes focus on the back face of the top section. If the panel bows - flexes inward toward you - as the opener engages, that's the panel under opener load without adequate reinforcement. A slight flex is concerning. An inch or more is urgent.
Look at the corners of the top panel near the opener bracket. Stress concentrates there. Creasing, cracking paint, or visible fatigue lines radiating from the bracket attachment points mean the panel has been flexing repeatedly for long enough to leave marks in the steel.
Listen for the sound that technician described - a flex sound, a creak, a plastic-under-pressure noise at the moment the opener engages. Metal in a door panel flexing has a specific acoustic character that's different from hinge noise or roller noise. It happens right at the moment of opener engagement, not throughout the travel.
For wide doors, check the center of each panel while the door is in the open position. A panel that sags visibly in the center - more than a fraction of an inch - is showing gravitational bow.
Strut sizing: the details that matter
Getting the size right is worth understanding before you order anything.
Width (2¼" vs 3") - 2¼-inch struts are standard for most residential single and double doors. 3-inch struts are for heavier doors, commercial-grade panels, and any application with significant wind load requirements. If you're in a standard residential setup in a non-hurricane area, 2¼" is almost certainly correct.
Gauge - 22-gauge is standard residential. Heavier gauge (lower number) means thicker, stronger, and heavier. Heavier means more weight added to the door, which means more spring tension may be needed. Important to factor in.
Length - Struts are normally cut two inches shorter than the door width to clear the vertical track hardware. A 16-foot door takes a 15'10" strut. This matters because struts typically can't be shipped by standard courier - anything over 9 feet wide has to ship freight, and the cost can be significant. For doors over 9 feet wide, connecting two shorter struts with a junction plate is often the practical alternative.
The weight question - and why it matters for your springs
Every guide on struts should mention this. Some do. A lot don't.
Steel struts weigh roughly 10 ounces per foot. A single 16-foot strut adds about 10 pounds to the door. Three struts on a wide door add 30 pounds. Your spring system is calibrated to balance a specific door weight - meaning the springs provide enough force to make the door effectively weightless, so the opener isn't lifting the full 200 to 400 pounds.
Add 20 to 30 pounds of steel struts without adjusting the springs, and the opener is now working against the extra weight every cycle. That shortens opener motor life, stresses the drive system, and compresses the springs faster than their rated lifespan. If you're adding more than one strut, or if your door is already heavy, a spring adjustment after installation is worth having done.
This doesn't mean don't add struts - it means be aware of it and either adjust the springs yourself if you're qualified to do so (spring adjustment is a legitimate DIY skill for people who've learned it properly), or have a technician handle the whole job.
Installation overview
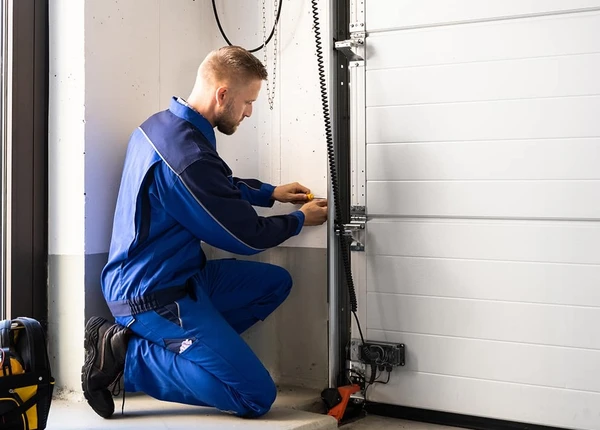
For the top section strut - the opener reinforcement strut - the standard installation sequence involves locating the center hinge position on the top panel, positioning the strut so it aligns with the hinge mounting holes (or the center stile), and fastening through both the strut and the hinge using self-tapping screws or the fasteners specified by the manufacturer. The strut should sit flush against the inside face of the top panel and be attached at multiple points across its length.
For struts on other sections, the process is similar - the strut is positioned horizontally across the panel back and fastened at the hinge mounting points that fall along its length.
A few things that matter for doing it right: the strut needs to sit perfectly horizontal (use a level), the fasteners need to engage the actual door panel material and not just the hinge hardware, and the attachment needs to be firm at every point across the length. A strut that's loose at the center or at one end is providing partial reinforcement at best.
If you're adding multiple struts to correct significant bowing, work with the door in the closed position. And have the spring balance checked afterward.
When to call someone instead
The strut itself is manageable DIY for someone with basic mechanical skills, the right hardware, and a leveled eye for alignment. What turns it into a professional job: any situation involving spring adjustment (particularly on double-car doors where you're adding meaningful weight), doors that already have visible panel damage that needs to be assessed alongside the strut installation, and any wind-code compliance work where the installation has to meet a building standard that can be inspected.
For hurricane-zone installations specifically, the strut gauge, bracket type, and mounting hardware have to meet code requirements that vary by jurisdiction. Getting that wrong isn't just a door problem - it's a permit and insurance problem.
DoorFixy handles strut installation, spring adjustment, and full door reinforcement assessments - particularly useful if you're not sure whether your door needs one strut or three.